
An automated external defibrillator (AED) is a true beacon of hope during a sudden cardiac arrest emergency, but its life-saving power is only as good as its state of readiness. Too many organizations invest in an AED and figure the job is done, falling into a dangerous "set it and forget it" trap. The hard truth is, without a consistent, thorough inspection routine, that device can easily become an expensive, ineffective piece of plastic when you need it most.
Think about it: an expired battery, a dried-out electrode pad, or a missed software update can mean the difference between life and death. This guide provides a comprehensive, actionable AED maintenance checklist designed to make sure your device is always prepared to perform. We'll go beyond the obvious, breaking down the specific daily, monthly, and long-term steps that transform a simple device into a cornerstone of your emergency response plan. Following this checklist means you'll be truly ready to save a life, eliminating the guesswork and potential for catastrophic failure. We will cover everything from daily visual checks to critical software updates, giving you a clear path to total readiness.
1. Daily Visual Inspection and Readiness Indicators
The most frequent and, frankly, most critical part of any AED maintenance checklist is the daily visual inspection. This brief, yet vital, check is your first line of defense in ensuring the device is ready to save a life at a moment's notice. A quick daily check confirms the AED is physically present, accessible, and showing a "ready" status, which prevents easily avoidable failures during an emergency.
This isn’t some time-consuming process; it’s about building a simple, consistent habit. Think of it like a pilot's pre-flight check—a non-negotiable routine that verifies the equipment is prepared for its critical job. The goal here is to spot potential issues, like a dead battery or missing supplies, long before the AED is ever needed.
Why a Daily Check is Non-Negotiable
Daily inspections are crucial because an AED's status can change in the blink of an eye. A battery can fail its last self-test overnight, or a well-meaning employee might move the device and forget to return it. By performing a quick daily check, you make sure these issues are identified and fixed immediately.
- Immediate Readiness: Verifies the device is operational today.
- Accessibility: Confirms the AED hasn't been blocked by boxes, furniture, or other obstructions.
- Accountability: Establishes a clear routine of responsibility for the device's upkeep.
Understanding the readiness of your AED through daily inspections is paramount. This vigilance applies broadly to other critical safety tools, such as recognizing the ease of maintenance and monitoring for safety devices like smoke detectors, ensuring their consistent performance. For those responsible for these checks, having the right training is essential; proper AED certification provides the knowledge needed to not only use the device but understand its maintenance requirements.
This quick reference box summarizes the core components of your daily visual inspection.
The visualization distills the daily check into three fundamental actions: verifying the status light, checking for damage, and ensuring clear access, which form the foundation of a reliable AED program.
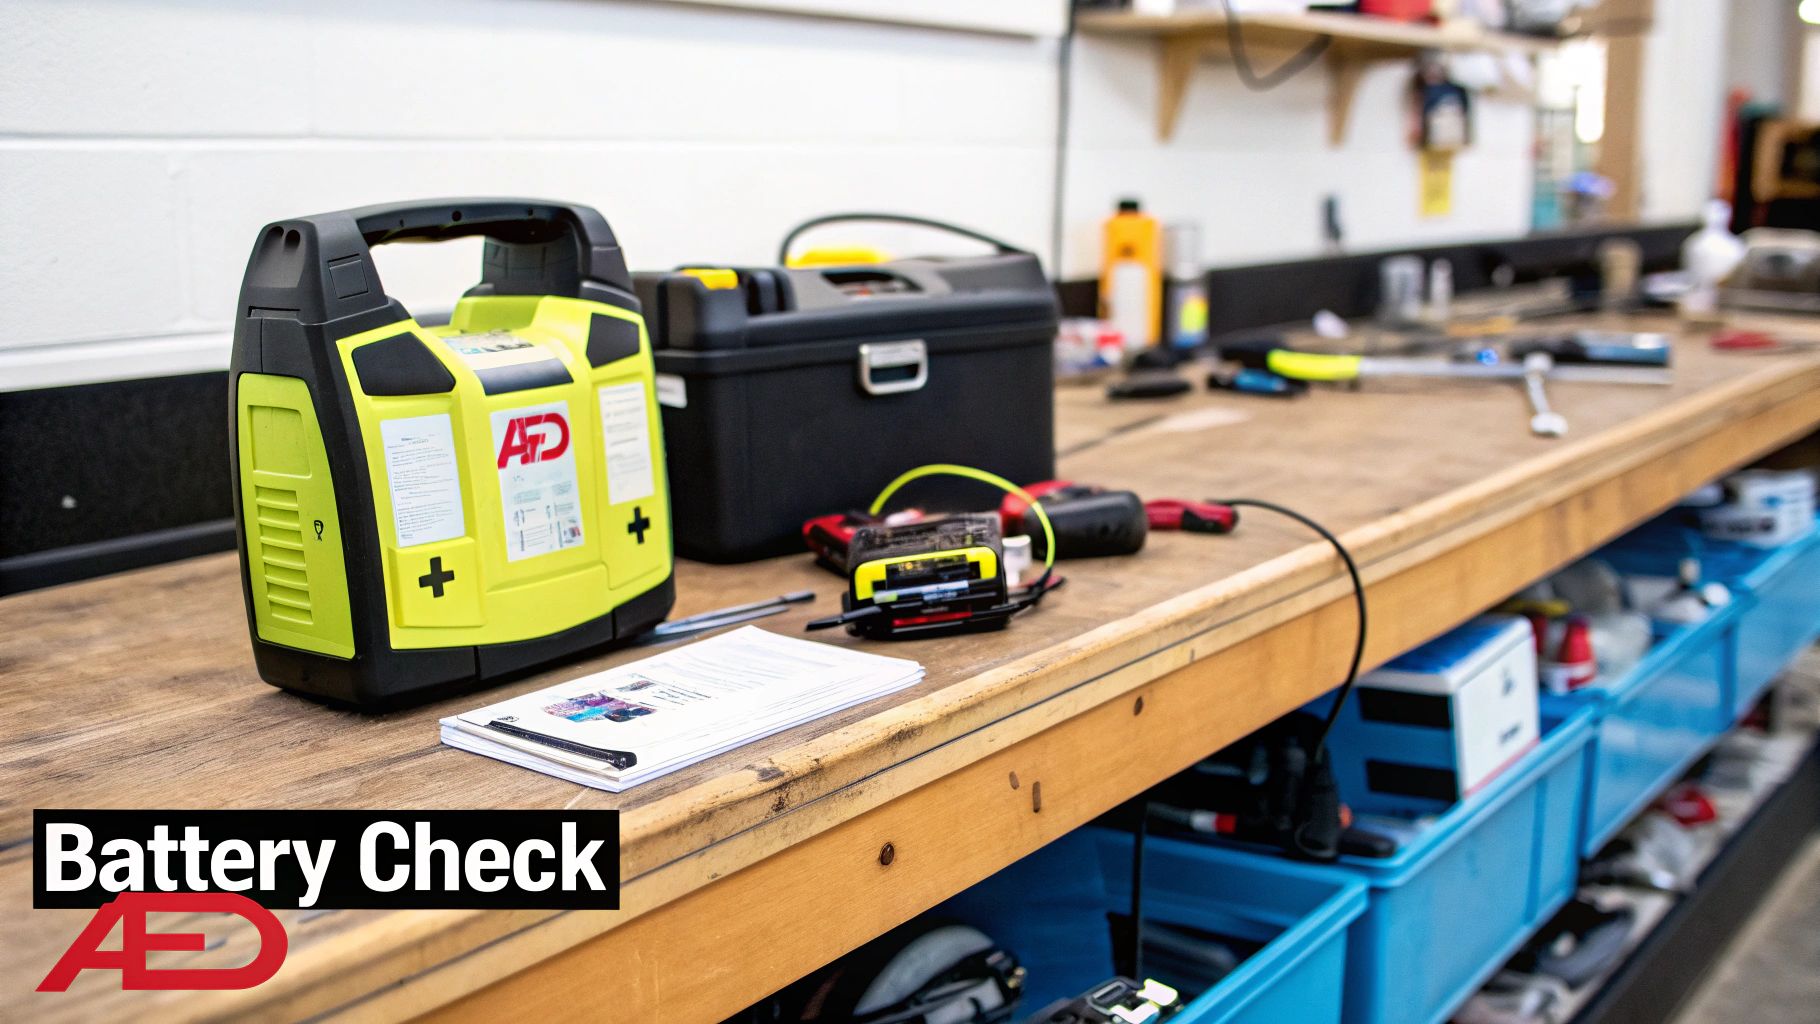
2. Battery Status and Replacement Monitoring
Beyond the daily visual check, a focused inspection of the AED’s battery is a cornerstone of any effective aed maintenance checklist. Let's be blunt: an AED is useless without a fully charged battery capable of delivering a therapeutic shock. Because batteries degrade over time and can fail unexpectedly, consistent monitoring and timely replacement aren't just recommended; they are essential for ensuring the device will function during a cardiac arrest.
This process involves more than just glancing at a status light. It means understanding the specific battery requirements for your AED model, tracking expiration dates religiously, and having a solid plan for replacement. Leading manufacturers like ZOLL Medical, Cardiac Science, and Philips Healthcare have designed their batteries for longevity and reliability, but they all have a finite service life that must be respected. Neglecting the battery is one of the most common—and preventable—reasons for AED failure in an emergency.
Why Battery Monitoring is Non-Negotiable
A battery is the heart of your AED. The device's internal self-tests are designed to check battery health, but these automated checks don't replace the need for human oversight. A proactive approach to battery management ensures the power source is robust and ready for the high-energy demands of delivering a shock.
- Prevents Sudden Failure: Regular checks catch declining battery performance before it leads to a critical failure during a rescue.
- Ensures Compliance: Adhering to the manufacturer's replacement schedule is often a requirement for liability protection and compliance.
- Guarantees Power: A fresh, properly installed battery guarantees the AED has the necessary power to analyze heart rhythms and deliver multiple shocks if needed.
Understanding your device's power requirements is a key factor when first acquiring a unit; an in-depth guide on choosing an AED for your business can help clarify the differences in battery life and maintenance across popular models. Ultimately, diligent battery management transforms your AED from a piece of equipment into a reliable, life-saving tool.
This quick reference box summarizes the critical actions for managing your AED's battery.
Key Actions for AED Battery Management:
- Log Installation & Expiration Dates: The moment you install a new battery, record the installation date and the manufacturer's expiration date in your maintenance log. No excuses.
- Set Proactive Reminders: Create calendar alerts for six months and one month before the battery's expiration date to ensure plenty of time for ordering and replacement.
- Heed All Warnings: Never dismiss or ignore any audible chirps or visual low-battery indicators from the AED. Address these alerts immediately.
- Store Spares Correctly: If you keep a backup battery, store it in a climate-controlled environment according to the manufacturer's guidelines, away from extreme heat or cold.
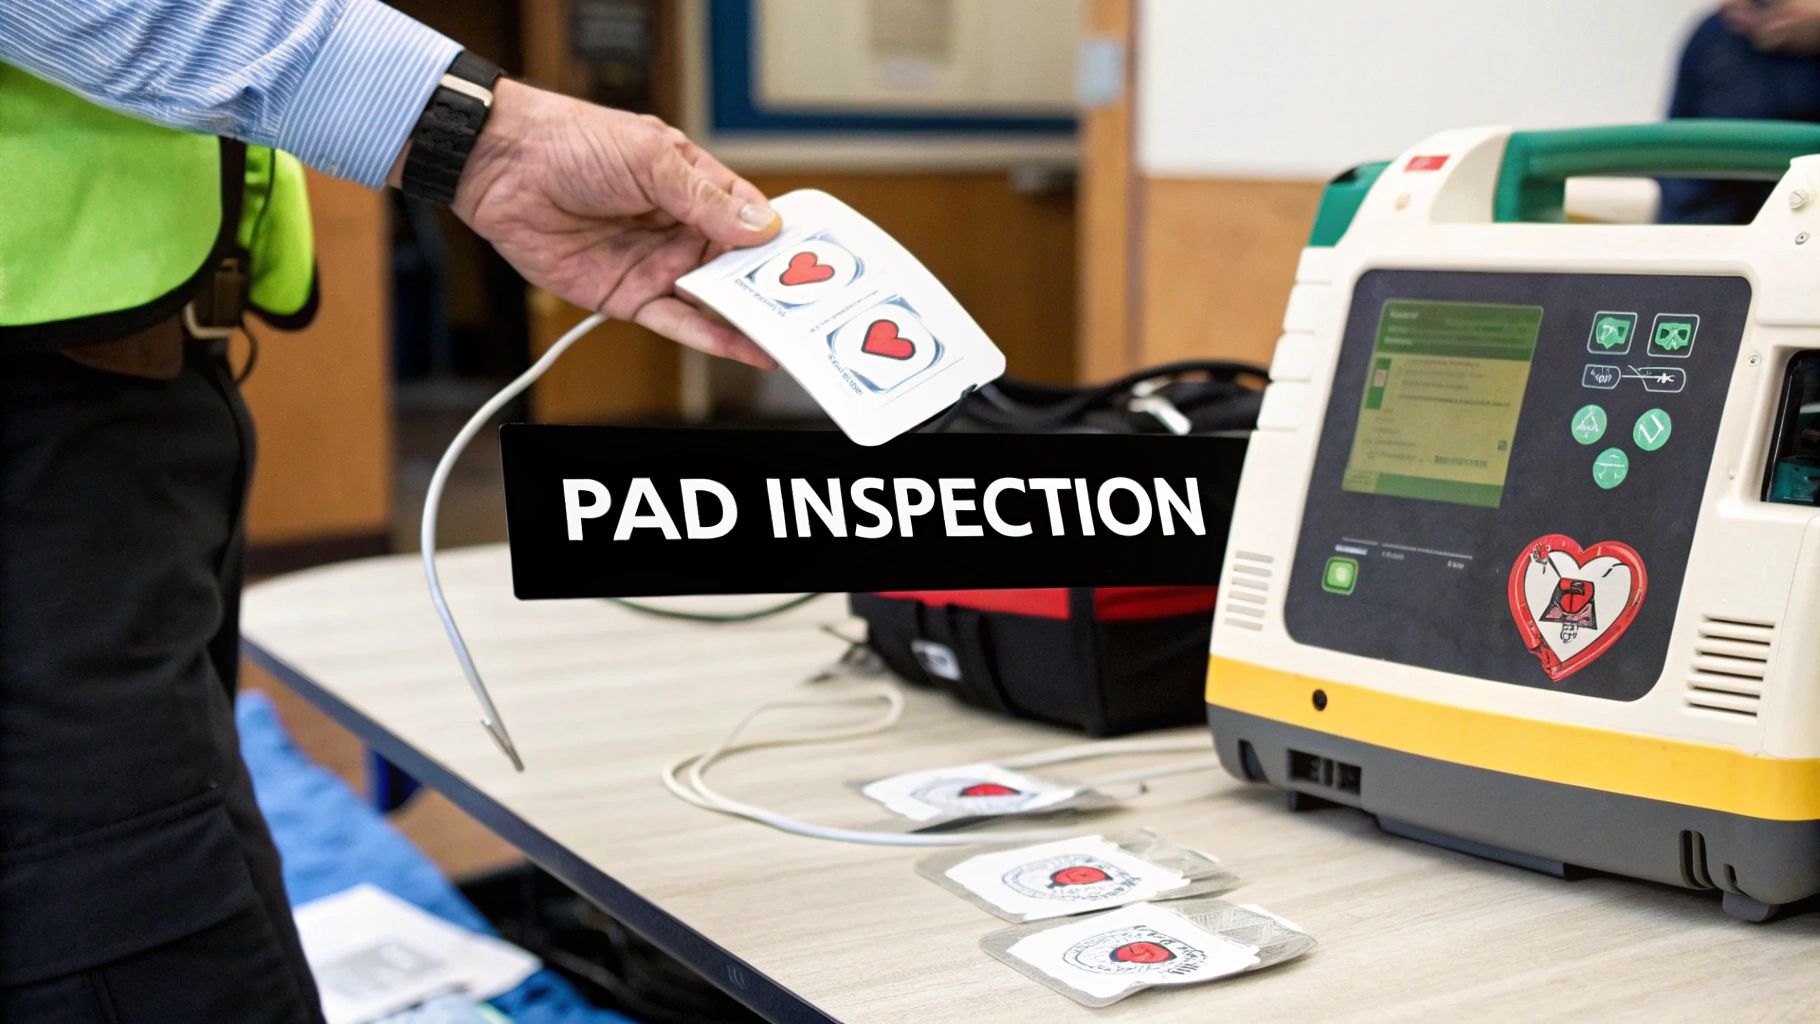
3. Electrode Pad Inspection and Replacement
A core component of any effective AED maintenance checklist is the systematic inspection and timely replacement of electrode pads. These pads are the direct point of contact with the patient, and their ability to adhere properly and conduct electricity is non-negotiable for successful defibrillation. Because the adhesive and conductive gel on the pads degrade over time, they have a strict expiration date that must be respected to ensure the AED can deliver a life-saving shock.
This task involves more than just glancing at a date; it's about guaranteeing the pads are in pristine, rescue-ready condition. Dried-out gel, poor adhesion, or damaged packaging can all lead to therapy failure. Implementing a regular check ensures that the pads will function exactly as intended during the high-stress environment of a sudden cardiac arrest emergency.
Why Pad Management is Critical
Expired or compromised electrode pads are one of the most common and preventable causes of AED failure. If pads don't stick firmly to the patient's chest, the electrical current cannot be delivered effectively, rendering the rescue attempt futile. A proactive replacement strategy is absolutely essential.
- Guaranteed Conductivity: Ensures the gel is moist and can effectively transfer the electrical shock.
- Proper Adhesion: Verifies the adhesive is strong enough to maintain full contact with the skin, even on a sweaty or hairy chest.
- Prevents Device Errors: Using expired pads can cause the AED to issue a "Check Pads" error, delaying or preventing a shock.
Effective pad management is a simple but powerful way to ensure your equipment is always ready. For a deeper understanding of the different types of pads and their specific requirements, exploring key factors for effective use can provide crucial insights into making the right choices for your AED program. Taking the time to manage these consumables is a small investment that pays massive dividends in a crisis.
The video above demonstrates the straightforward process of checking and replacing AED pads, a skill every program manager should be familiar with. Consistent checks and strict adherence to expiration dates remove a significant point of potential failure from your emergency response plan.
4. Self-Test Function Execution and Documentation
While daily visual checks are fundamental, diving deeper into the device's own health reporting is a critical part of a comprehensive AED maintenance checklist. Modern AEDs are sophisticated medical devices equipped with internal self-test functions that automatically verify their core systems. This automated process is your AED’s way of giving itself a regular check-up, ensuring the internal circuits, software, and shock delivery systems are all functioning as designed.
These self-tests are the backbone of device reliability, running on schedules set by the manufacturer—which can be daily, weekly, or monthly. Understanding and properly documenting these tests bridges the gap between a visual "all clear" and true operational certainty. It confirms that the device isn't just present but is internally prepared to deliver that life-saving shock.
Why Self-Test Verification is Essential
Relying solely on a green status light without understanding the self-tests behind it is a gamble. Verifying and documenting these tests provides concrete evidence of the device's health over time. It allows you to track patterns, identify potential recurring issues, and maintain a defensible record of due diligence, which is vital for compliance and liability purposes.
- Proactive Fault Detection: Identifies internal electronic issues that are invisible to the naked eye before they can lead to failure during a rescue.
- Compliance and Record-Keeping: Creates an auditable trail demonstrating that the device has been maintained according to manufacturer specifications and industry best practices.
- Informed Maintenance: Provides detailed diagnostic data that can help technicians or manufacturer support quickly resolve any problems that arise.
Beyond simply performing self-tests, meticulously documenting their execution and outcomes is paramount, and leveraging effective business process documentation templates can significantly streamline this critical aspect of AED readiness. Different AED models provide this data in various ways; for instance, LIFEPAK devices perform daily self-tests with results stored internally, while some HeartStart units conduct weekly tests and display results directly on their status indicators. Other brands, like Defibtech, offer detailed reports that can be downloaded via specialized software.
This quick reference box summarizes the core components of managing your AED's self-test functions.
Self-Test Management: Key Actions
- Know Your Schedule: Understand if your AED performs daily, weekly, or monthly self-tests. Check the manual!
- Log Every Test: Maintain a detailed logbook (physical or digital) recording the date, time, and result (pass/fail) of each test.
- Understand Error Codes: Familiarize yourself with your device's specific error codes or fault indicators so you can take appropriate action.
- Act on Failures: Immediately remove a device from service if it fails a self-test and contact the manufacturer or your service provider for support.
5. Software Updates and Firmware Maintenance
Just like your smartphone or computer, modern Automated External Defibrillators (AEDs) run on sophisticated software and firmware. This internal programming controls everything from analyzing heart rhythms to delivering the correct electrical shock. Regular software and firmware maintenance is a crucial step in a comprehensive AED maintenance checklist, ensuring the device operates with the latest life-saving protocols and security enhancements.
Ignoring software updates is like neglecting to service a car’s engine management system. Over time, manufacturers release updates to improve performance, patch potential vulnerabilities, or align the device’s CPR and shock algorithms with the most current guidelines from organizations like the American Heart Association (AHA). Keeping your AED's software current ensures it performs optimally when it matters most.
Why Software Maintenance is Essential
Firmware updates are non-negotiable for maintaining the long-term reliability and effectiveness of an AED. A device with outdated software might still function, but it may not be operating based on the latest resuscitation science, potentially impacting patient outcomes. These updates are a key part of the device's lifecycle management.
- Protocol Compliance: Ensures the AED's treatment algorithms reflect the latest advancements in CPR and defibrillation science.
- Performance Enhancement: Updates can improve battery efficiency, speed up shock analysis, and refine the user interface.
- Security and Reliability: Manufacturers may issue patches to fix bugs or enhance the device's security, preventing operational failures.
For organizations, ensuring device software is up-to-date is a key responsibility. When initially selecting a device, it is important to consider how these updates are managed, as this can factor into the long-term cost and ease of ownership. To make an informed decision, it's wise to research the specifics of different models; for guidance on this, Ready Response offers insights on how to buy an AED.
The following quick reference box outlines the essential actions for managing your AED's software and firmware.
Software & Firmware Update Checklist
- Register Your Device: The very first thing you should do is register your AED with the manufacturer to receive direct notifications about available updates.
- Schedule Updates: Plan for updates during non-critical hours or designated maintenance windows to avoid taking the AED out of service unexpectedly.
- Have a Backup: If possible, have a backup AED available while the primary unit is undergoing maintenance or an update.
- Verify Completion: After an update, always run a self-test or follow the manufacturer's procedure to confirm the update was successful before placing the AED back into service.
6. Environmental and Storage Condition Monitoring
An AED is an electronic device, and like any sophisticated piece of technology, its performance is directly impacted by its environment. Systematic monitoring of storage conditions is a crucial, yet often overlooked, part of a comprehensive AED maintenance checklist. Extreme temperatures, high humidity, and physical exposure can degrade sensitive components, compromise battery life, and ultimately lead to device failure.
Proper environmental control ensures the AED remains within its manufacturer-specified operating range. Just imagine an AED stored in a vehicle during a sweltering summer or a frigid winter; without protection, its ability to function correctly is severely jeopardized. This check involves regularly assessing the AED's storage location to shield it from conditions that could silently render it useless.
Why Environmental Monitoring is Essential
Monitoring the storage environment is critical because damage from temperature or moisture can be invisible until it's too late. A battery might lose its charge faster in the cold, or internal circuitry could corrode in a humid location. Proactive monitoring prevents this gradual degradation, ensuring the device is reliable when deployed.
- Preserves Battery Life: Extreme heat and cold can drastically shorten the lifespan of AED batteries, a primary point of failure.
- Protects Electronics: Shields sensitive internal components from moisture, condensation, and dust that can cause short circuits or corrosion.
- Ensures Reliability: Guarantees the device operates as intended, as performance can be unreliable outside of specified temperature and humidity ranges.
Protecting the device from the elements is a fundamental aspect of its readiness. Understanding these and other AED workplace safety considerations helps create a more robust and reliable safety program. For instance, an AED in an industrial plant near a high-heat process needs different protection than one in a climate-controlled office.
This quick reference box summarizes the core components of monitoring your AED's environment.
This visual guide emphasizes three key actions: checking temperature and humidity levels, protecting the device from direct exposure to sunlight or moisture, and ensuring the storage cabinet itself is in good condition, which collectively safeguards the AED’s long-term viability.
AED Maintenance Checklist Comparison
From Checklist to Confidence: Being Ready When It Counts
Transforming your approach to AED readiness begins with understanding that a checklist is more than just a list of chores. It's a foundational tool for building a system of unwavering reliability and a culture of preparedness. Throughout this guide, we've walked through the essential daily, monthly, and annual actions that ensure your Automated External Defibrillator is a lifesaver-in-waiting, not just a box on the wall. From the simple daily glance at the readiness indicator to the meticulous documentation of battery expiration dates and software updates, each step is a critical link in the chain of survival.
Mastering a comprehensive AED maintenance checklist moves your organization from a state of passive hope to one of active confidence. It’s the difference between hoping the device works and knowing it will. When you consistently verify the placement and condition of electrode pads, confirm successful self-tests, and maintain a clean, accessible storage environment, you are systematically eliminating points of failure. This diligence doesn't just protect the equipment; it empowers every trained individual in your facility, giving them the assurance that if they need to act, the tool they reach for will be ready to perform its life-saving function.
Key Takeaways for Proactive Readiness
To truly embed this practice into your safety protocol, focus on these core principles:
- Consistency is Non-Negotiable: The power of the checklist lies in its routine execution. A check missed is a potential risk introduced. Make the inspections as routine as locking the doors at night.
- Documentation is Your Proof: A detailed log is your evidence of due diligence. It protects your organization from liability and provides a clear history for troubleshooting, audits, and tracking the lifecycle of consumables like batteries and pads.
- Ownership is Essential: Assign specific individuals to be responsible for the AED maintenance checklist. When people have clear ownership, accountability follows, and the program's integrity is significantly strengthened.
Ultimately, the goal is to create an environment where readiness is second nature. The methodical checks of your AED program build a powerful sense of security that permeates throughout your team. This isn't just about regulatory compliance; it's about a commitment to protecting human life. By embracing every item on this checklist, you are making a profound statement that you are prepared to act decisively when seconds are the difference between life and death. You are building a bridge from simple preparation to genuine, life-saving confidence.
Ready to ensure your team has the skills and confidence to match your well-maintained equipment? Ready Response LLC provides comprehensive, hands-on CPR, First Aid, and AED training designed to turn bystanders into lifesavers. Visit Ready Response LLC to learn how our expert-led courses and AED program management can help you build a complete circle of safety and preparedness.
